Notice: There is no legacy documentation available for this item, so you are seeing the current documentation.
Do you want to add your site to Bing Webmaster Tools? All in One SEO makes this really easy so you can use their great free tools.
Here we’ll show you how to authenticate your site with Bing Webmaster Tools using the HTML tag method.
In This Article
NOTE:
If you’ve already verified your site with Bing Webmaster Tools then you don’t need to do it again. You only need to verify your site once when you first add it in Bing Webmaster Tools.
What is Bing Webmaster Tools?
Bing Webmaster Tools is a set of free tools and reports that helps you monitor and troubleshoot your site’s presence on Bing.
You don’t have to use these tools to be listed in Bing, but it really helps you understand how they see your site, and it’ll alert you to any problems.
Requirements
Before you get started, you’ll need to have an account with Microsoft, Google or Facebook to use Bing Webmaster Tools.
If this is for your business, you may want to think about using a separate account for your business, rather than using your personal account.
Adding your Site to Bing Webmaster Tools
To get started, you’ll need to sign into Bing Webmaster Tools (if you’re not already signed in).
Once you’ve done that, you’ll see the main dashboard and in the top left you’ll see the Add a Site box.
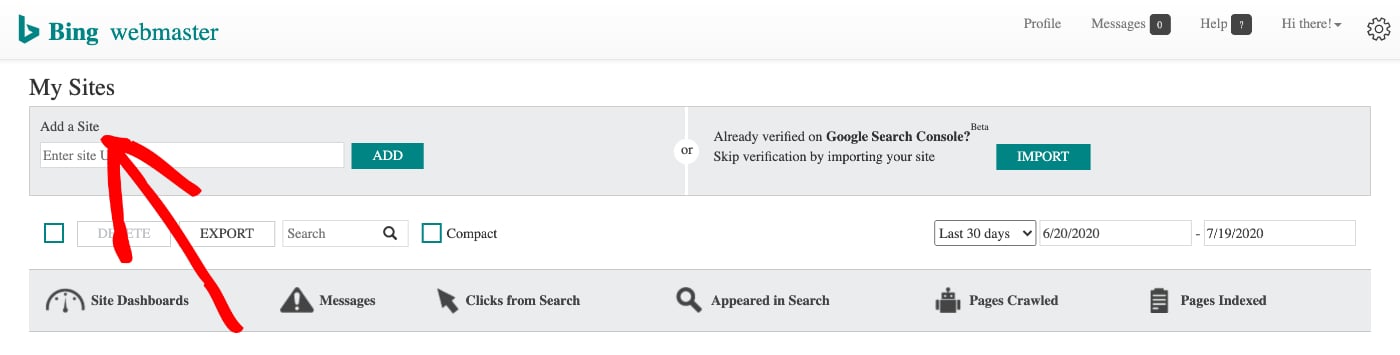
Enter the full URL for your site in the box and click the Add button.

IMPORTANT:
The URL you enter must exactly match the URL for your site. This includes https:// or not and www or not.
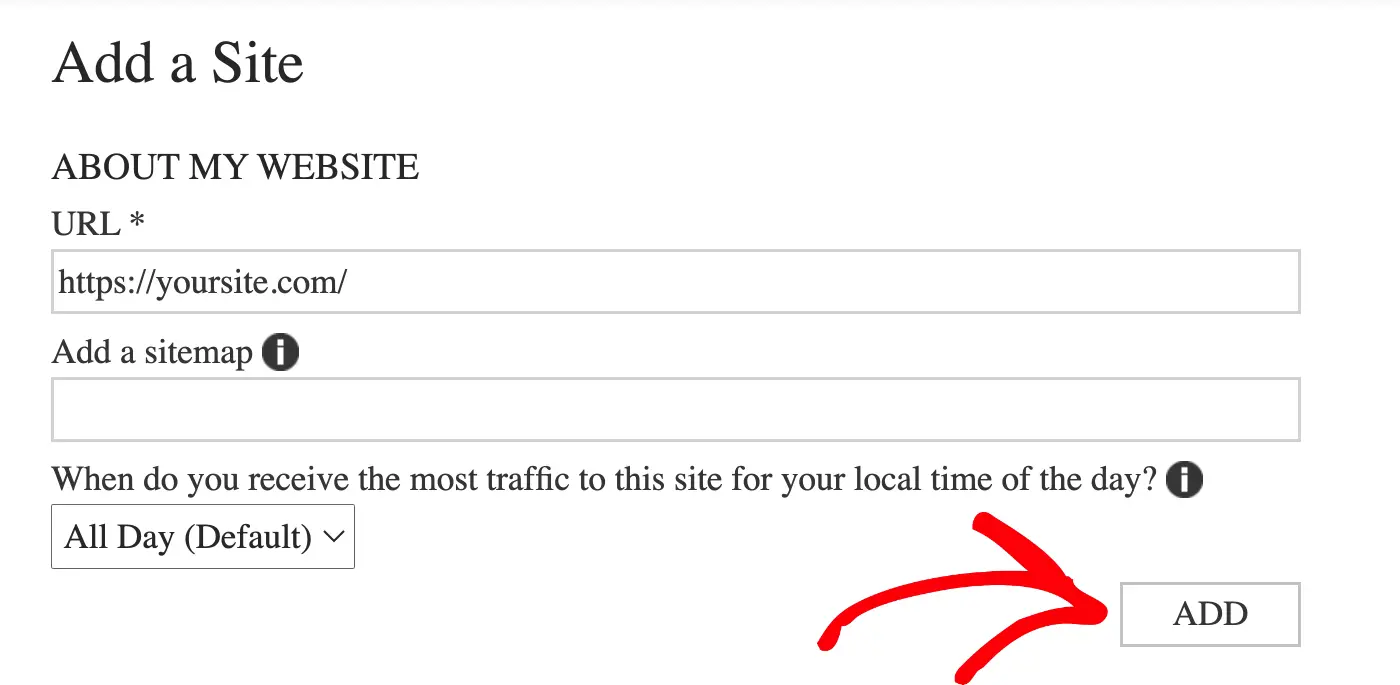
The next screen is optional. You can add your XML Sitemap URL and select the time of day when you receive the most traffic to your site, or you can also leave these blank for now and just click the Add button.
Verifying Ownership of Your Site
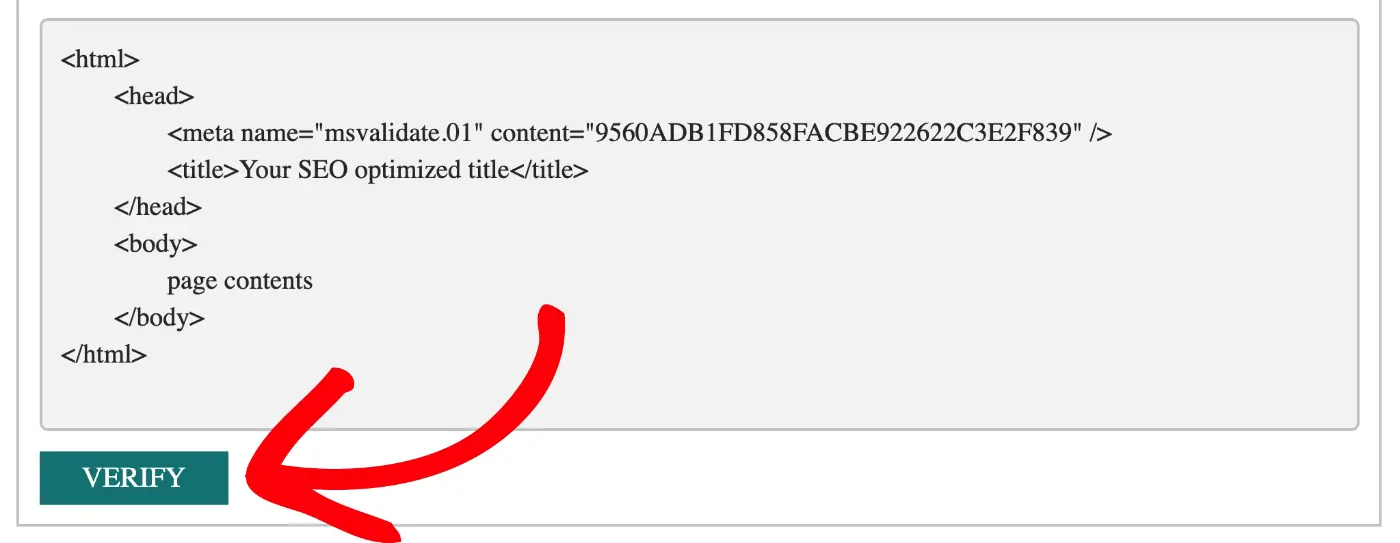
Next, you’ll see a screen that says Verify ownership for, and you’ll see a section that says Copy and paste a <meta> tag in your default webpage.
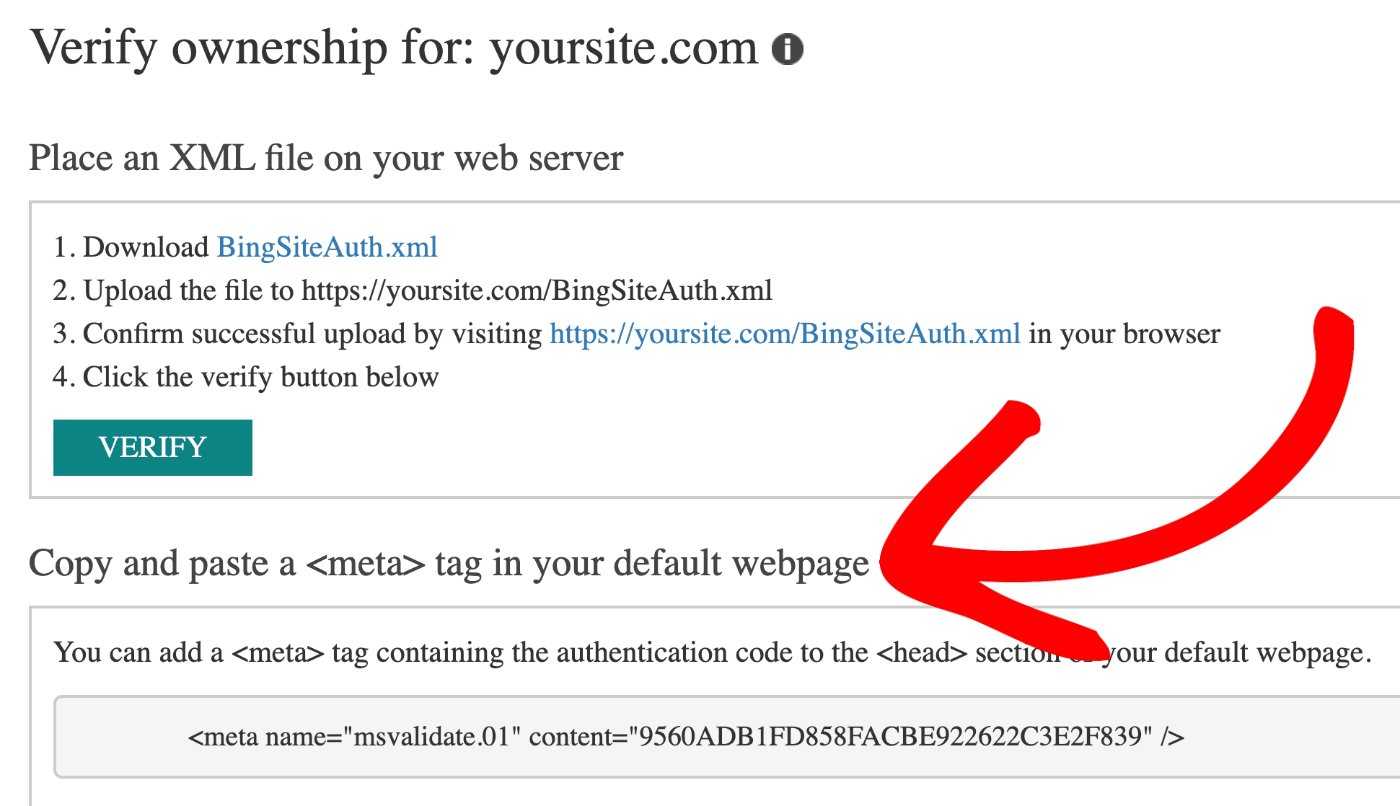
Here you’ll see some code, select the code with your mouse, right click on the selected text and choose Copy.
Open a new browser window and log into your WordPress site. Click on General Settings in the All in One SEO menu and then click on the Webmaster Tools tab.
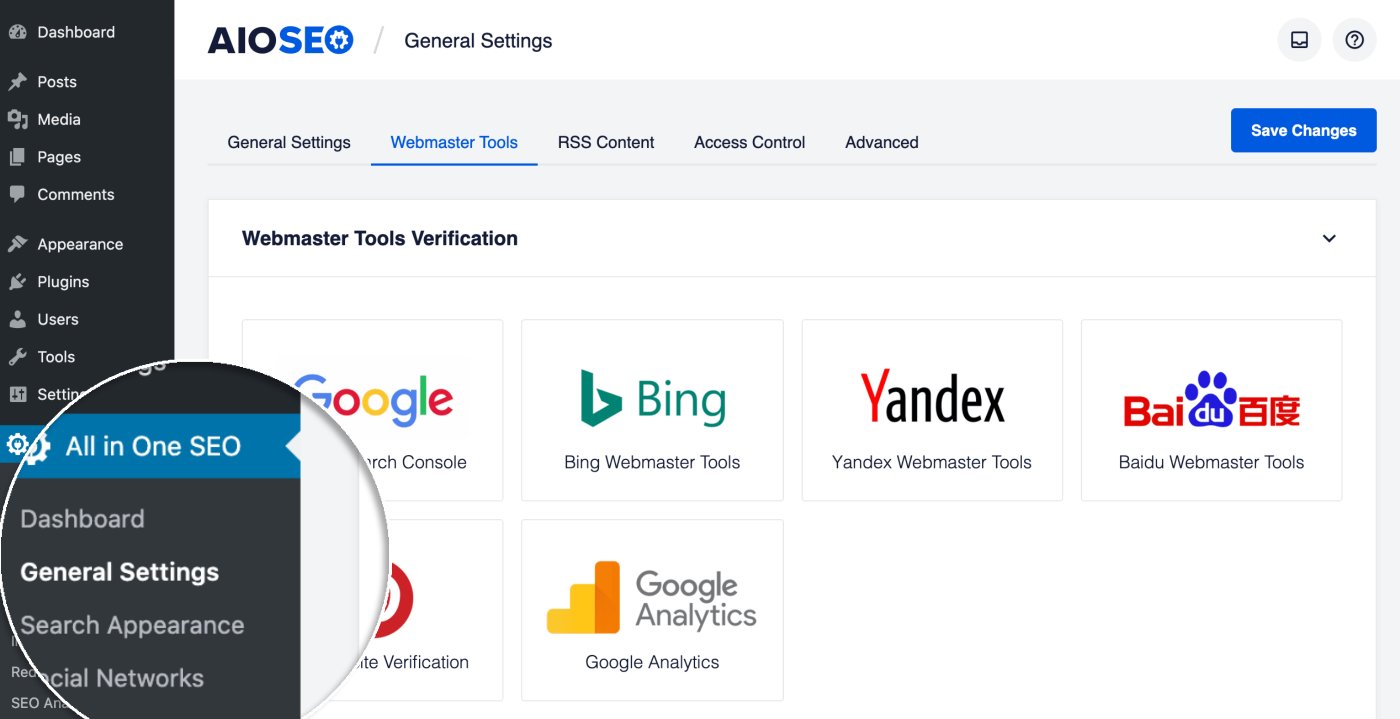
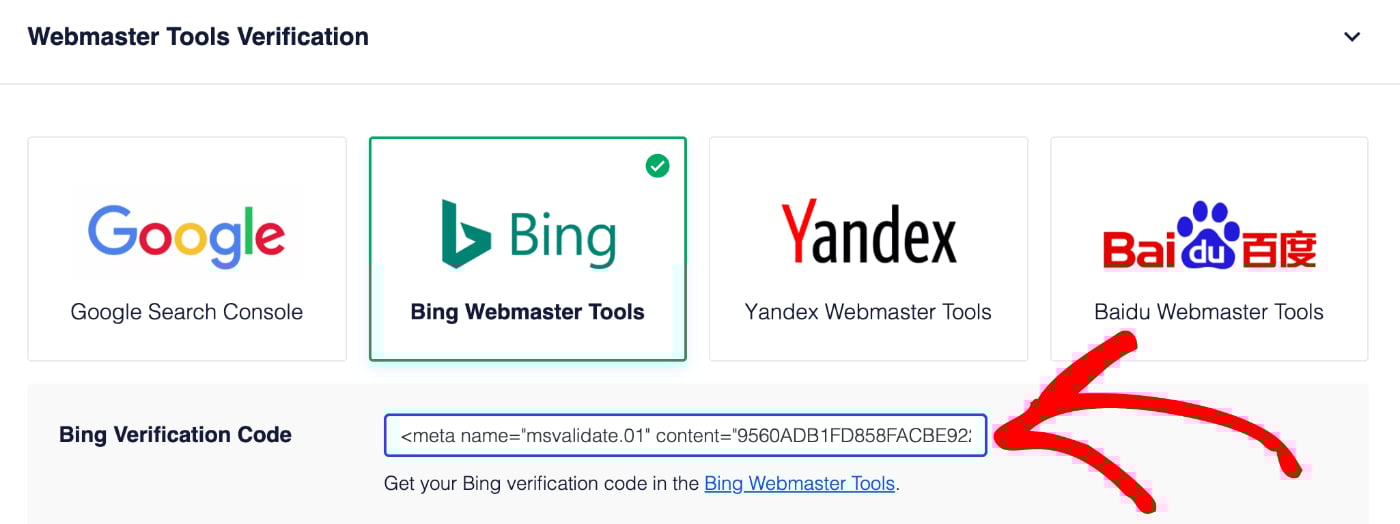
Now click on the Bing Webmaster Tools block and paste the code you copied into the Bing Verification Code field and click Save Changes.
Now all that’s left is to go back to Bing Webmaster Tools in your other browser window and click the Verify button.
Congratulations! You’ve verified your site with Bing Webmaster Tools!
Importing Sites From Google Search Console
If you’ve added your site to Google Search Console then you can import it into Bing Webmaster Tools without having to verify it.
 Once you have signed in you will be taken to the Dashboard for Bing Webmaster Tools. Now click the Add Your Site box in the center of the page.
 You will have to enter some information about your site and then you'll be taken to a page with a meta tag to copy. Only copy what is circled in the screenshot below, you don't need the entire tag.
 Once you've copied that meta tag, go back to your WordPress site and paste it into the Bing Webmaster Verification field on the General Settings screen of All in One SEO Pack, then scroll to the top or bottom of the page and click Update Options.
 Now, go back to the Bing Webmaster Tools page that you got the code from and click Verify.